
Lesson Progress
0% Complete
Follow along with me in the video. You’ll need:
- Sketchpad
- Ruler
- Pencils
Assignment
- Gather your materials: paper, ruler, and eraser. Use 18″ x 24″ paper if possible, but any sketchpad will work.
- Draw a horizon line across the middle of your page. On 18″ x 24″ paper, place it 12 inches up from the bottom.
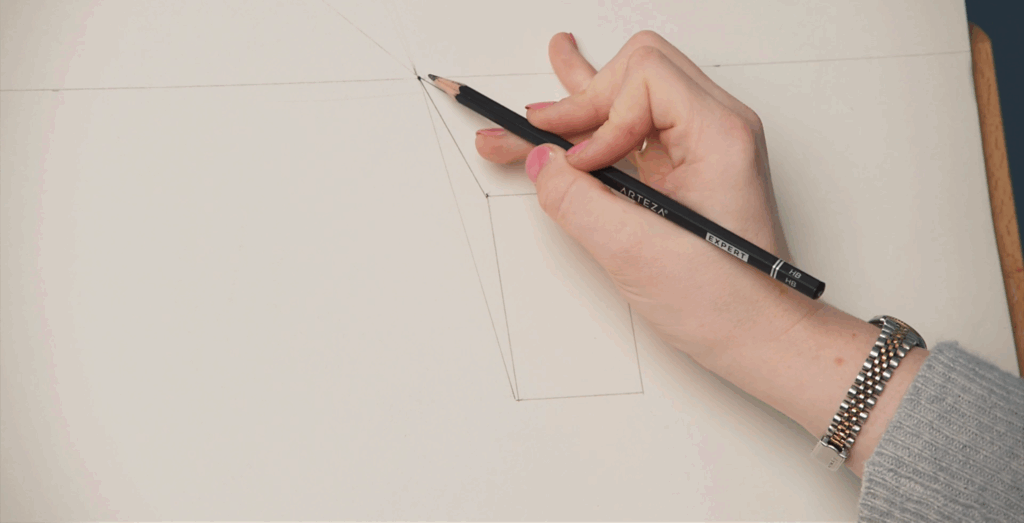
- Mark a vanishing point in the center of the horizon line. This is the point all perspective lines will lead to.
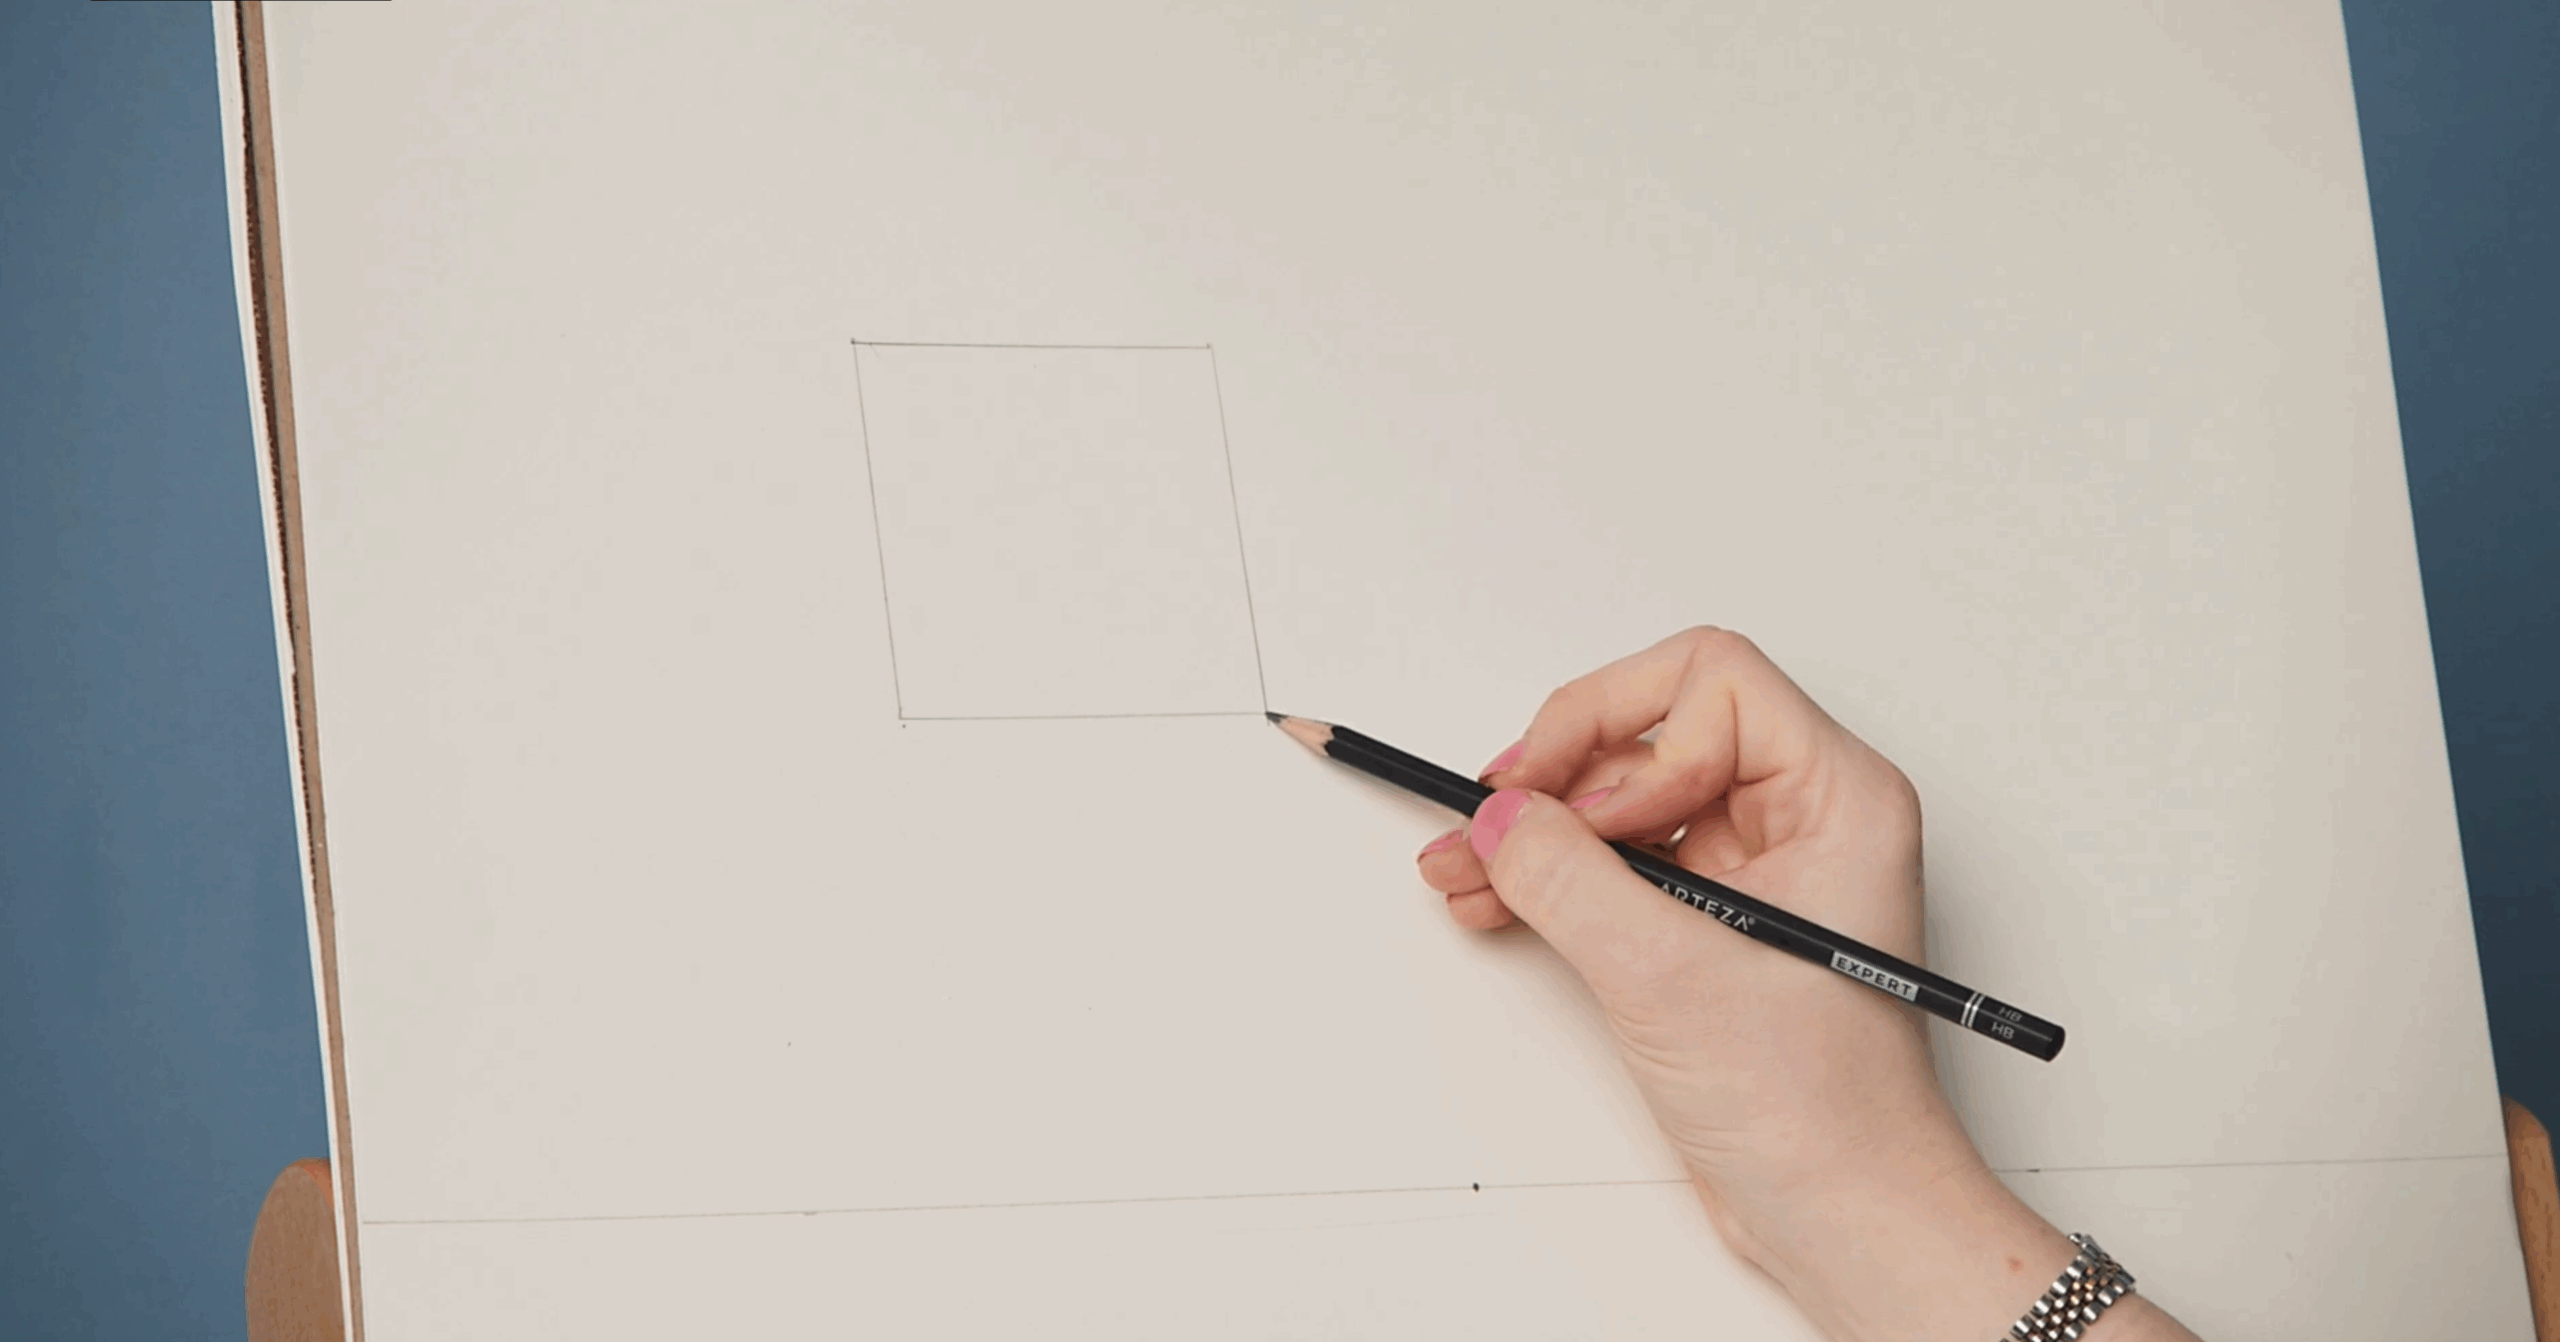
- Draw a 3″ x 3″ square near the top part of the page.
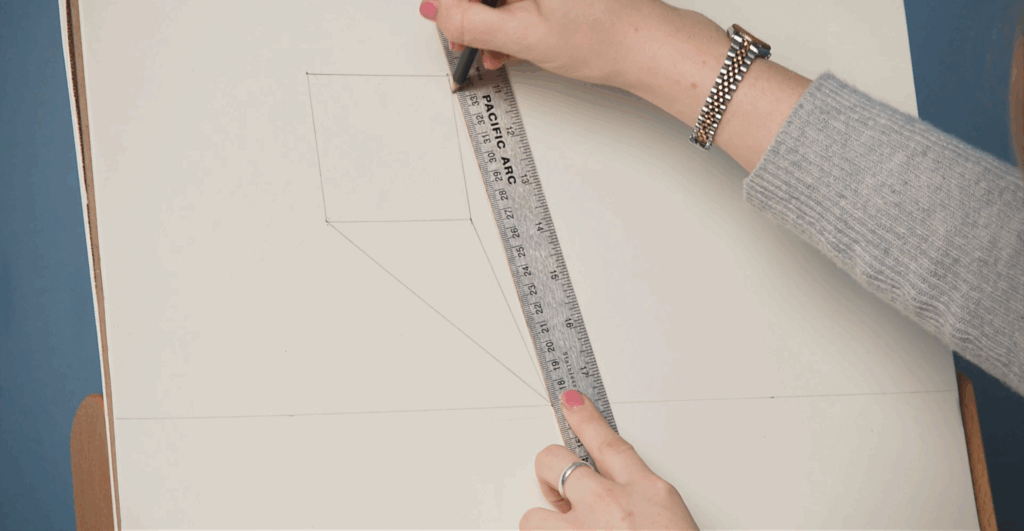
- Use a ruler to connect the square’s corners to the vanishing point with straight lines called orthogonals.
- Add the back edges of the form by drawing vertical and horizontal lines parallel to the front edges, then erase extra orthogonal lines to create a solid cube.
- Draw a second shape, such as a 2″ x 3″ rectangle, lower on the page. Connect its corners to the vanishing point and complete it as a transparent cube by including the hidden edges.
- If any lines do not meet correctly at the vanishing point, erase and redraw them.
- Draw another box on the horizon line and connect it to the vanishing point. Because it sits on the horizon line, only one side of the box will be visible.
- Continue filling the page with many more boxes and cubes around the vanishing point to build muscle memory in one-point perspective. Use the example image from the lesson as a guide.
This assignment should take you 30 minutes to 1 hour.